Send With Confidence
Partner with the email service trusted by developers and marketers for time-savings, scalability, and delivery expertise.

Time to read: 6 minutes


img class attribute. The link should be placed in the src attribute (see below). Don’t forget to include the quotation marks around the link.img class and src attribute when switching out the images in the template. To include alt text, add the alt attribute to the img class and describe your image. To add a link to your image, include the href attribute within the img class tag.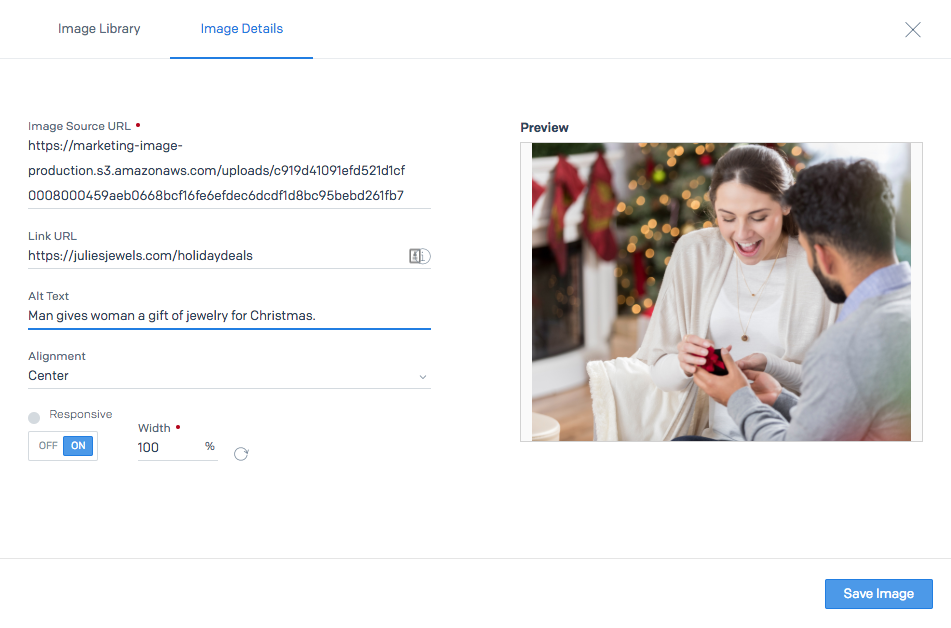 Step 3: Font
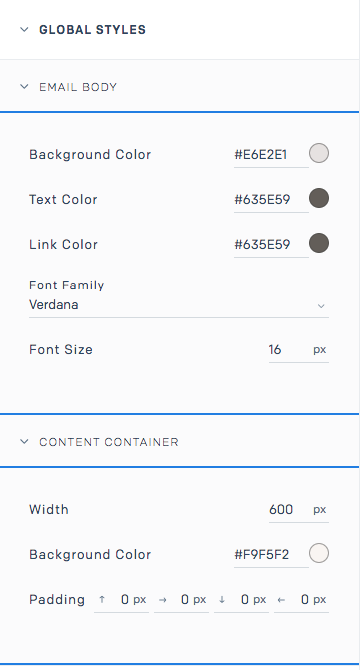
style, span style, background-color, bgcolor, color, and border-color. It’s likely that your template will have multiple attributes for the same color to be able to communicate the color to all email providers. Be sure to change all sections that list the color. Check out this example of the CTA button design and code. 
Partner with the email service trusted by developers and marketers for time-savings, scalability, and delivery expertise.